
Follow my blog with Bloglovin
Mastering baking basics starts with understanding that precision is your best friend in the kitchen. Whether you’re whipping up a batch of cookies or kneading dough for bread, knowing how to measure ingredients accurately is crucial for baking success. You’ll discover that baking is as much a science as it is an art.
Embracing the essentials of baking means getting to grips with mixing methods, oven temperatures, and timing. With a solid grasp of these fundamental skills, you’ll bake with confidence and tackle recipes from simple to sophisticated with ease. Let’s get your baking journey started on the right foot.
Mastering Baking Basics
When you’re eager to perfect your baking game, mastering the basics is your first step. Let’s break down the non-negotiable techniques that’ll turn your kitchen into the envy of every bake-off.
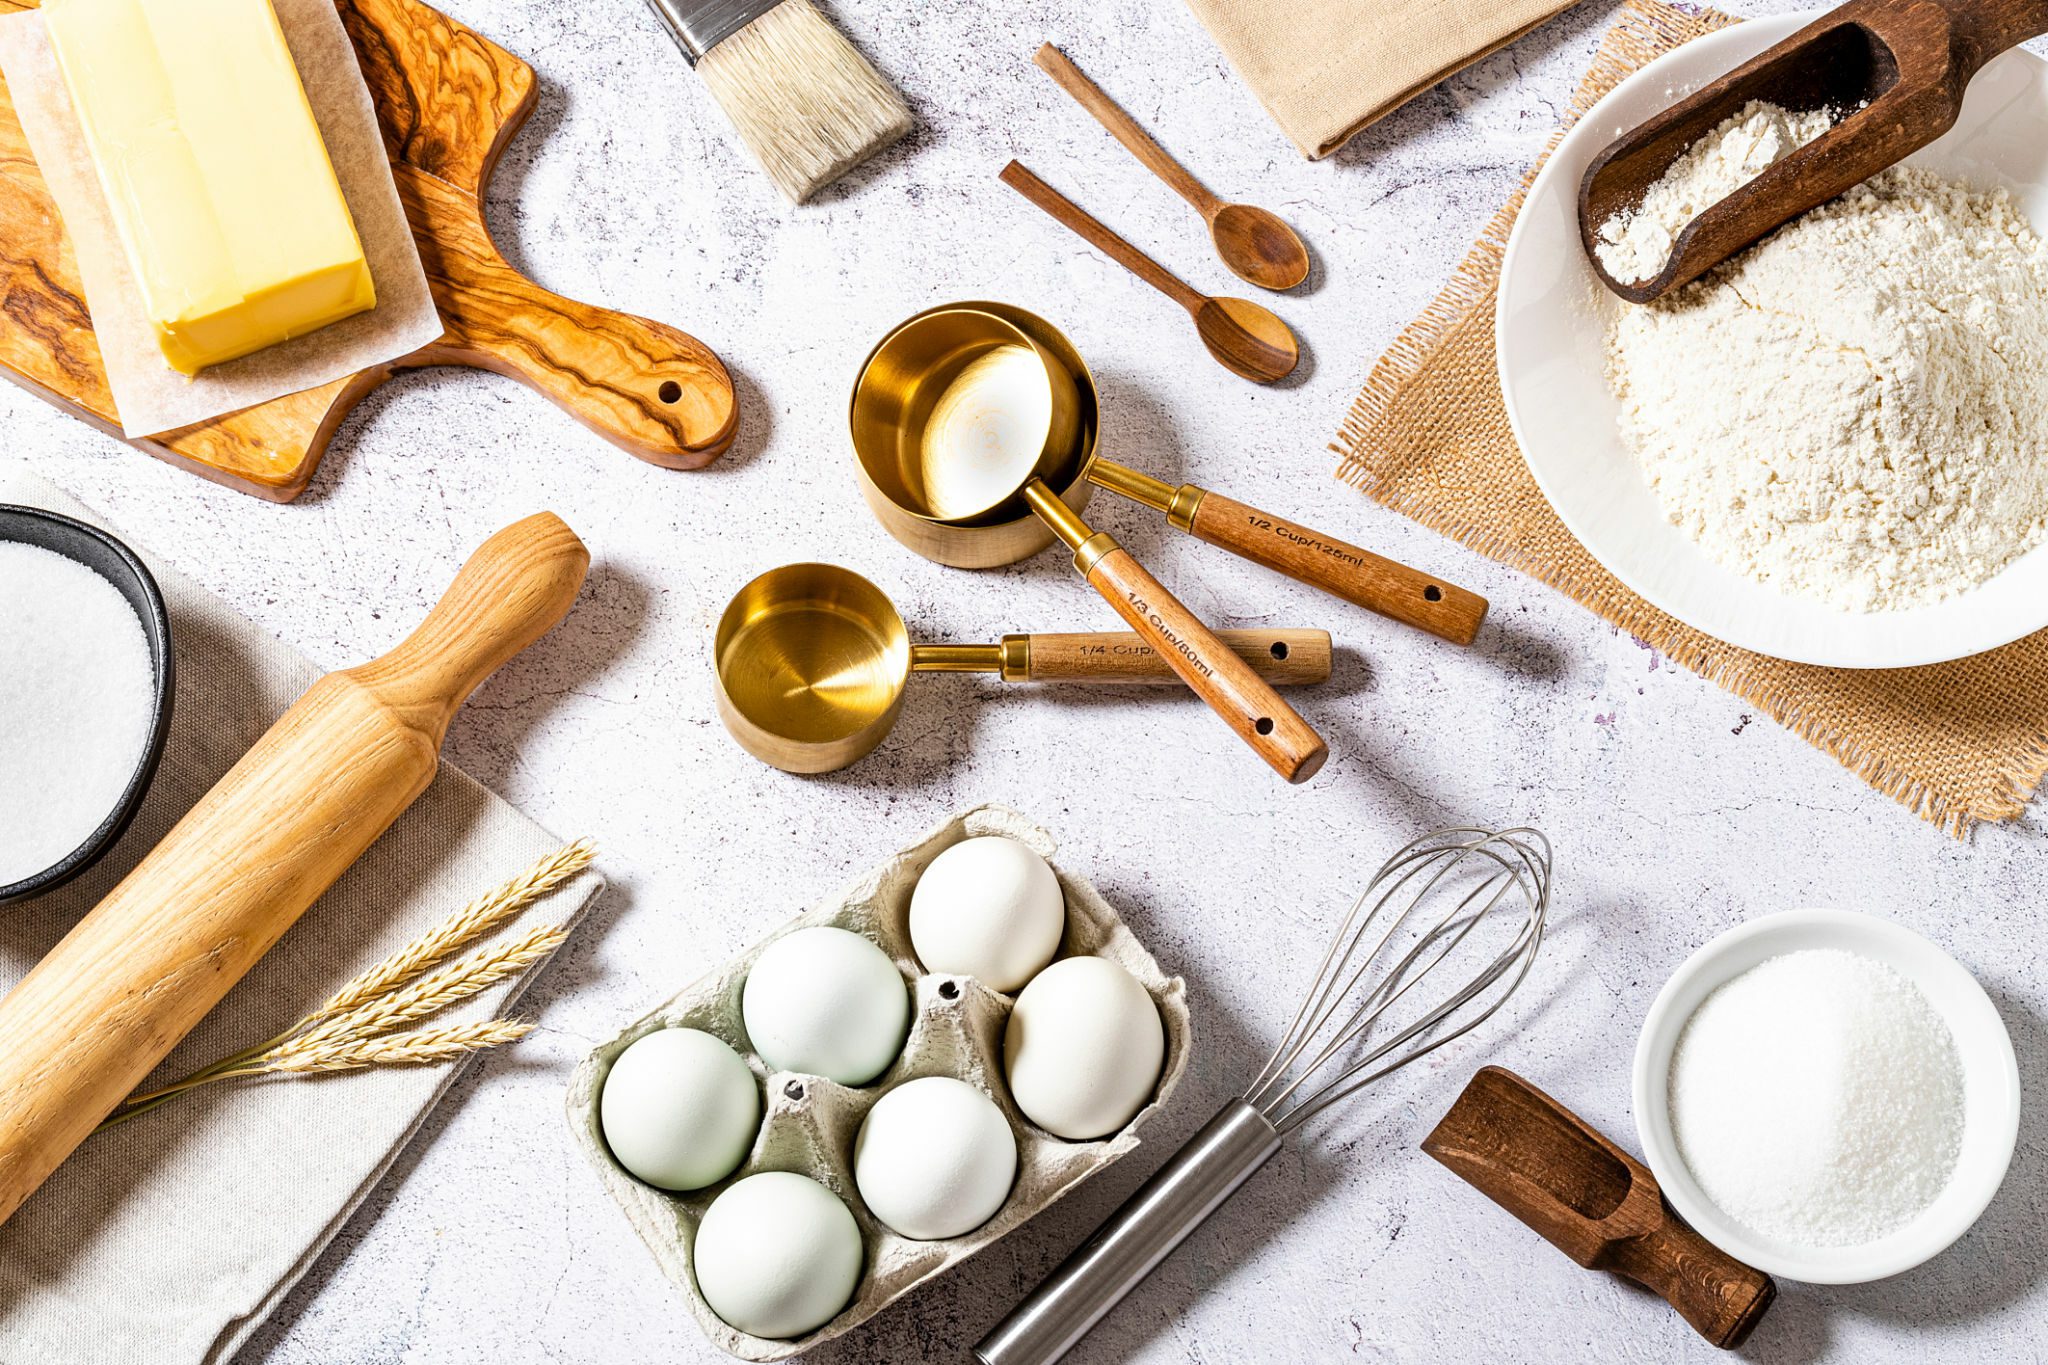
Use the Right Measuring Tools
Precision starts with the correct tools. For liquids, opt for clear measuring cups with spouts, ensuring accurate level markers are clearly visible. Dry ingredients demand cup measures designed for scooping and leveling. Meanwhile, a set of spoons is indispensable for both dry and wet ingredients when quantities are smaller.
Fluff, Spoon, and Level Dry Ingredients
To avoid dense baked goods, fluff your flour with a spoon before measuring. Spoon it into your measuring cup without compacting, and swipe a flat edge over the top for a level measure. This process ensures you’re not adding extra weight, which can throw off your recipe.
Keep Ingredients at the Right Temperature
Temperature can make or break your bake. Room temperature butter is creamy and emulsifies well, providing a smooth base for cookies and cakes. Cold butter, on the other hand, is ideal for flaky pastries. Always check your recipe and plan ahead to meet these conditions.
Understand Oven Temperatures
Ovens have personalities; they run hot or cold. Invest in an oven thermometer to know exactly what temperature you’re working with. Preheat your oven well before baking to ensure a consistent environment for your treats.
Timing Is Key
Watch your bake, not the clock. Ovens vary and so do baking times. Look for visual cues and test for doneness with a toothpick or skewer. If it comes out clean, your masterpiece is ready to come out of the oven.
By adhering to these essential practices, you’ll elevate your baking prowess. Practice makes perfect, and each batch is an opportunity to refine your skills. Keep at it, and soon you’ll handle the baking basics like a seasoned pro.
The Importance of Measuring Ingredients
Understanding Weight vs. Volume Measurements
When it comes to baking, precision is key—this includes understanding the difference between weight and volume measurements. Weight measurements are considered more accurate than volume measurements. Here’s why:
- Weight measures the actual mass of an ingredient, unaffected by factors such as packing or air content.
- Volume measures the space an ingredient occupies, which can vary greatly for ingredients like flour, depending on how you scoop it.
Using a digital scale for weight measurements ensures consistent results every time. In contrast, using cups for volume measurements can lead to variations, as a cup of flour can weigh anywhere between 4 to 6 ounces depending on how it’s filled.
The Essential Tools for Measuring Ingredients
To master the art of baking, you’ll need a few essential tools for measuring your ingredients accurately:
- Digital Scale: For precise weight measurements.
- Measuring Cups: Separate sets for dry and liquid ingredients.
- Measuring Spoons: For smaller quantities of ingredients like baking powder or salt.
- Sifter or Fine Mesh Strainer: To aerate dry ingredients which helps with accurate volume measurements.
When you’re measuring ingredients, remember these specific ways to ensure accuracy:
- Use the Right Measuring Tools: Always use liquid measuring cups for liquids and dry measuring cups for dry ingredients.
- Fluff and Spoon Dry Ingredients: Stir to fluff, spoon into the measure then level off for precise volume.
By utilizing the appropriate tools and techniques for measuring ingredients, you’ll sidestep common baking errors and move one step closer to creating flawless baked goods. Remember to keep your tools in good condition, calibrate your scale regularly, and replace measuring cups and spoons that have become warped or faded, as these minor details can significantly affect the precision of your measurements.
Essential Baking Techniques
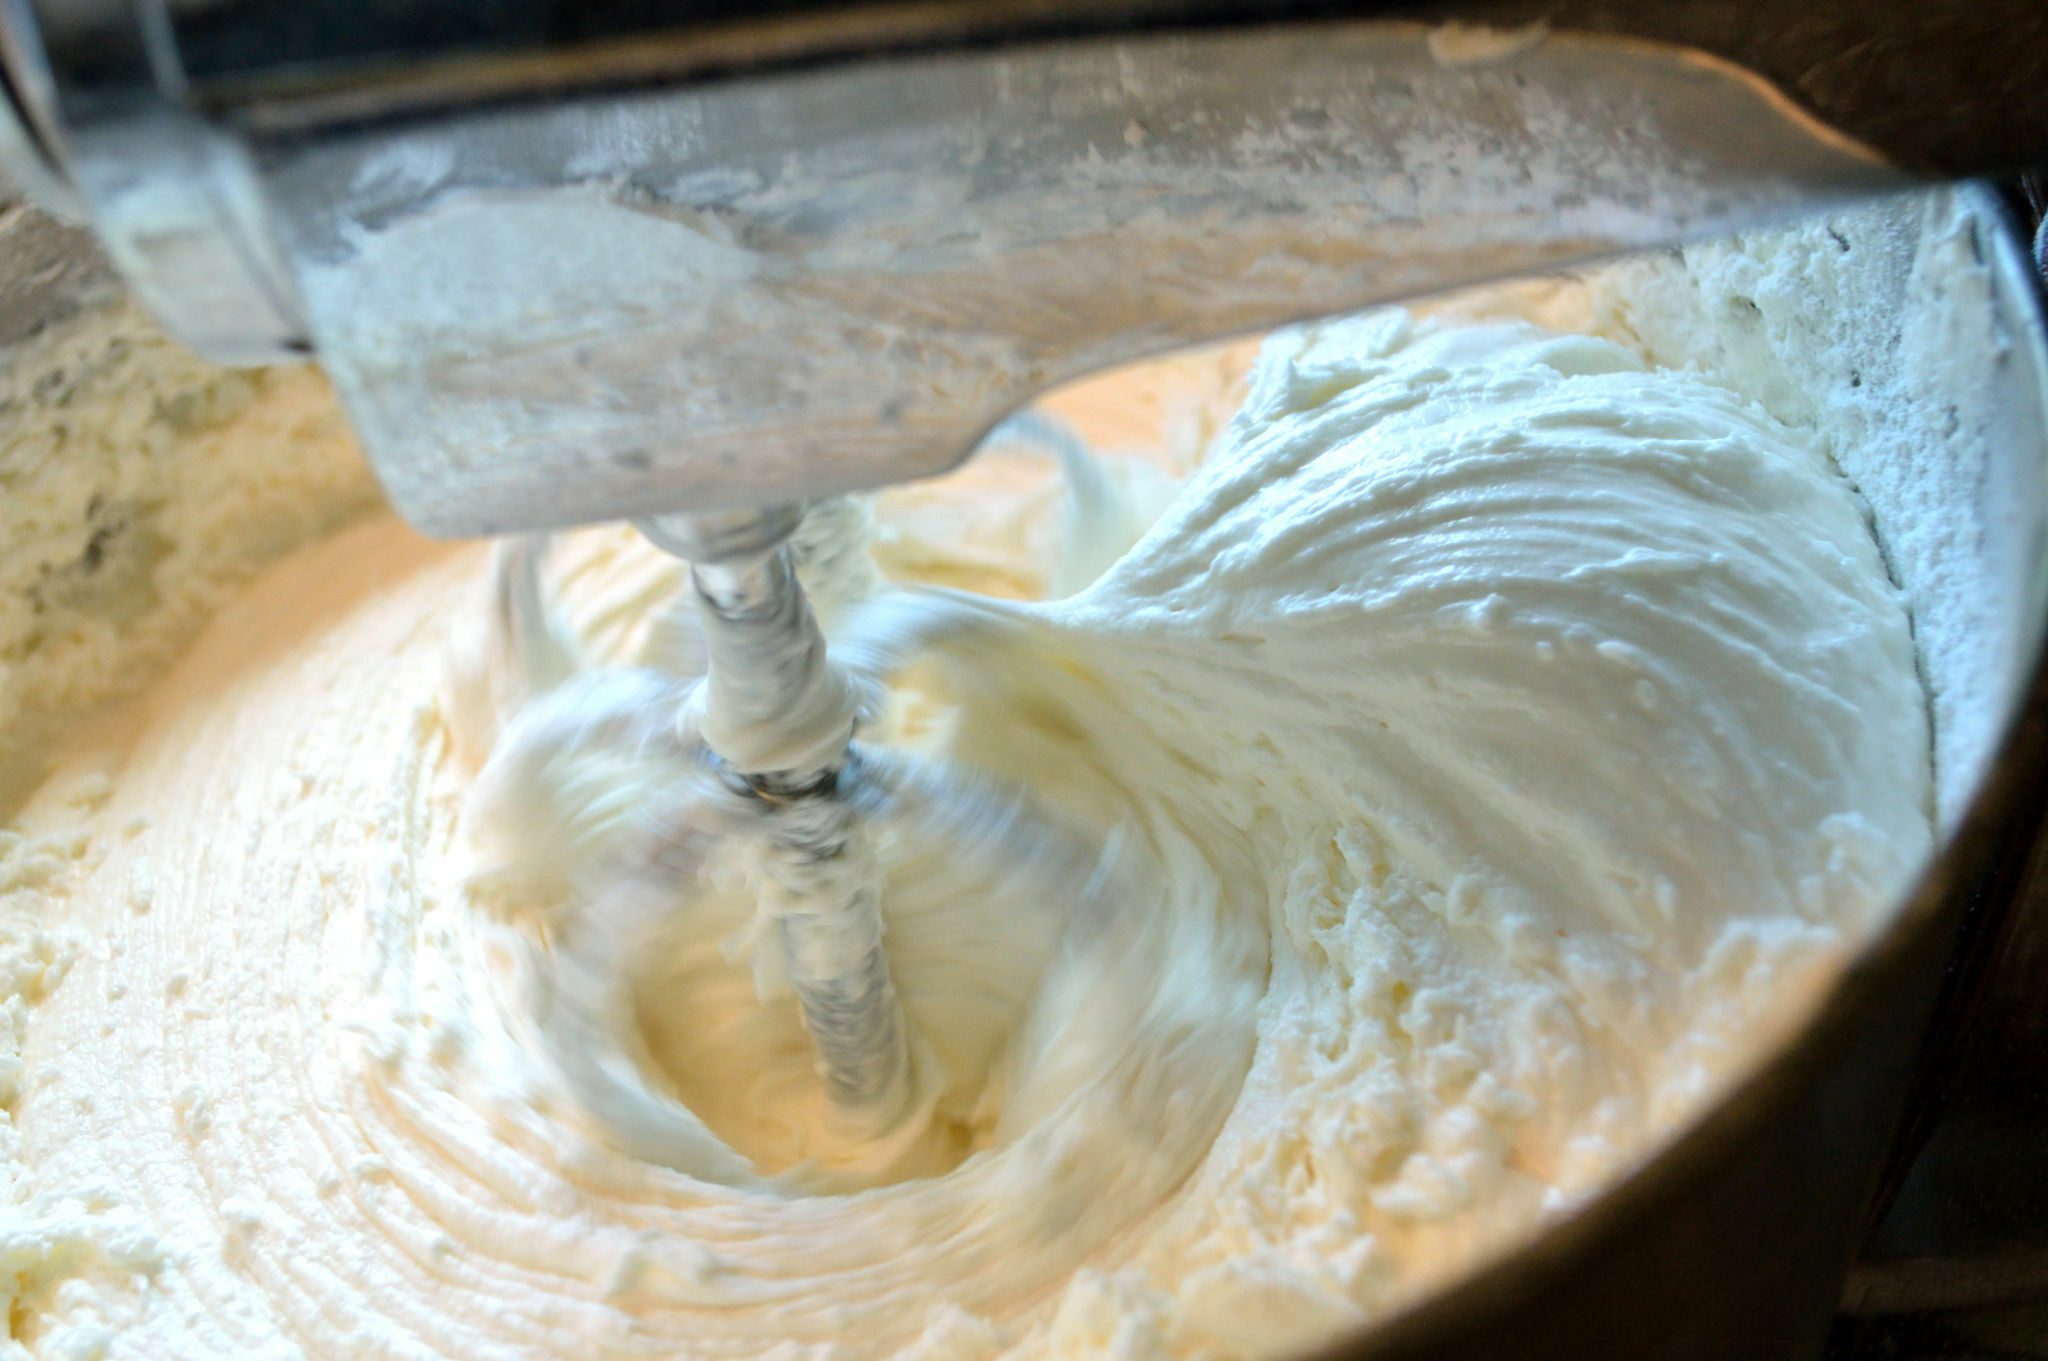
Creaming Butter and Sugar
Achieving the perfect texture in baked goods often starts with creaming butter and sugar together until light and fluffy. This crucial step introduces air into your mixture, providing aeration that helps baked goods rise. To cream properly, ensure that your butter is at room temperature; cold butter won’t blend as evenly. Start by beating the butter on its own for a few minutes before gradually adding the sugar. You’ll know you’ve reached the ideal consistency when the mixture is pale yellow with a light, creamy texture.
- Let the butter soften naturally
- Beat the butter before adding sugar
- Add sugar gradually while mixing
Folding Ingredients Together
The technique of folding ingredients together is essential when you want to combine mixtures of different thicknesses without deflating airy components like whipped cream or beaten egg whites. To fold effectively, use a wide spatula and a gentle hand. Start by placing a portion of the lighter mixture on top of the heavier one. Sweep the spatula down through the mixture, lift it up, and fold it over. Rotate the bowl a quarter turn with each fold to promote even mixing. This technique ensures that you maintain as much air in the batter as possible.
- Use a spatula for best results
- Sweep down, lift, and fold over
- Rotate the bowl to mix evenly
Properly Beating Egg Whites
The success of meringues, soufflés, and other baked goods relies heavily on your ability to beat egg whites properly. Start with room temperature egg whites to maximize volume. Ensure your bowl and beaters are clean and grease-free—any contaminants can prevent the egg whites from whipping up. Beat the egg whites on a low speed until they become frothy, then gradually increase the speed. For stability, add a pinch of cream of tartar. You’ll know you’ve reached stiff peaks when you can lift the beaters, and the egg whites hold their shape without drooping.
- Clean equipment is crucial
- Start at a low speed and increase gradually
- Add a pinch of cream of tartar for stability
Mastering these techniques takes practice but is vital for attaining the desired outcomes in your baking projects. As you become more familiar with the proper execution of creaming, folding, and beating, you’ll notice your baked goods improve in texture and structure, bringing you one step closer to achieving baking excellence.
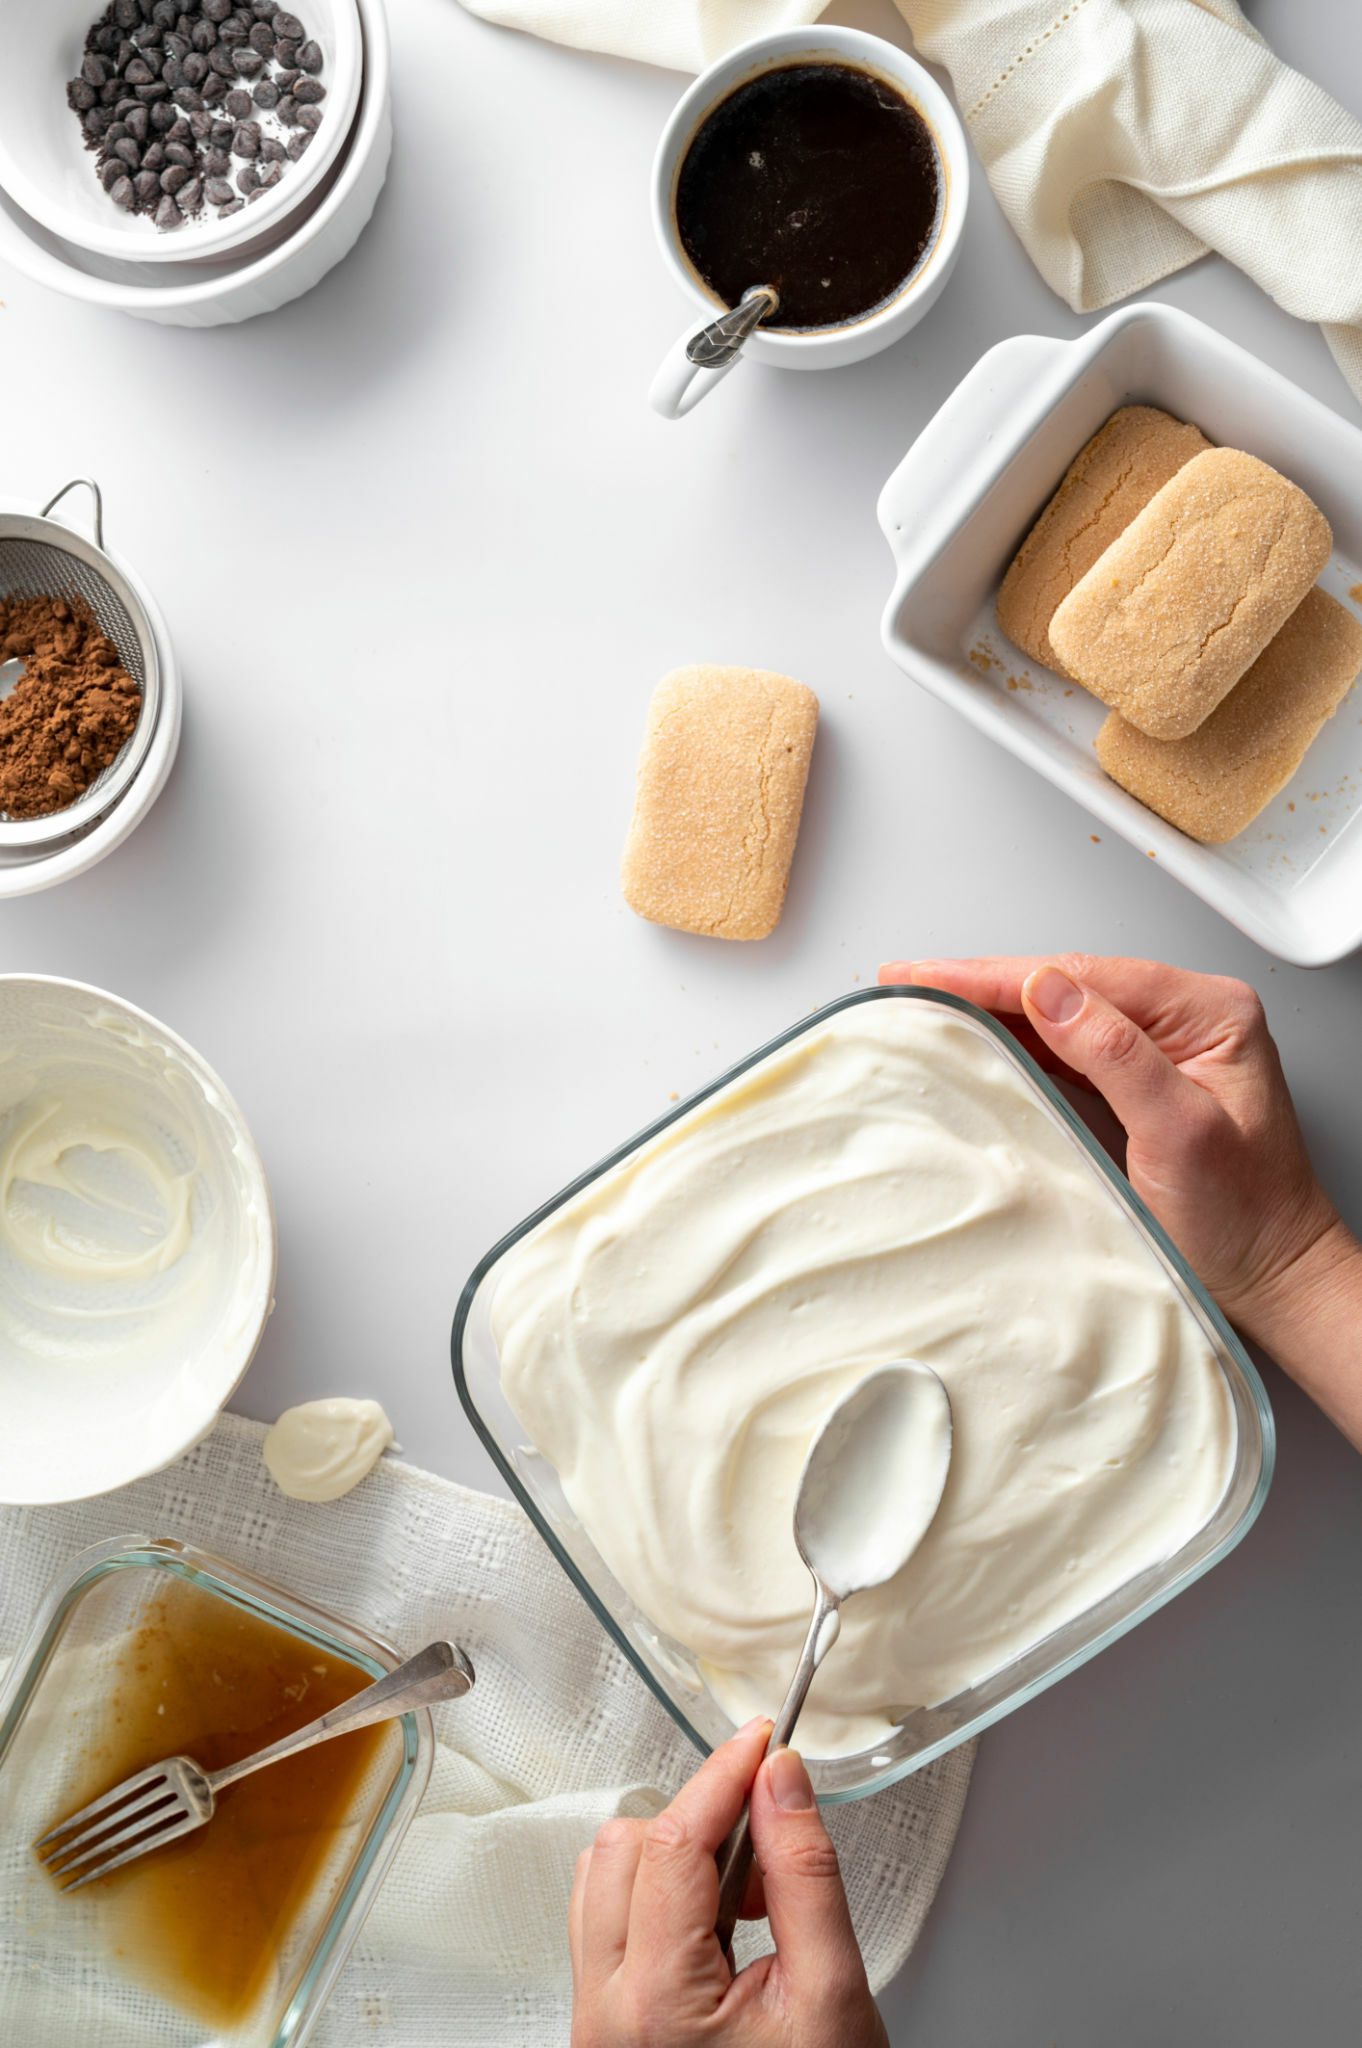
Mastering Different Types of Dough
Making a Flaky Pie Crust
To achieve a flaky pie crust that’s the talk of the table, begin with cold ingredients. The secret lies in the butter. Use unsalted, cold butter cut into small cubes. This ensures that the butter doesn’t fully incorporate into the dough, forming pockets that turn into flaky layers as they bake. Here are the steps you’ll want to follow:
- Chill all your ingredients, including flour
- Cut in the butter using a pastry blender until the mixture resembles coarse crumbs – Add ice water one tablespoon at a time—just enough to bring the dough together
- Handle the dough sparingly with your hands to prevent warming the butter
Creating a Light and Airy Cake Batter
For a cake that’s light as a feather and soft as a cloud, sifting the dry ingredients is crucial. It incorporates air and ensures even distribution, eliminating clumps that weigh the batter down. When mixing the wet and dry ingredients, a gentle hand is key:
- Begin and end with dry ingredients when alternating with wet ingredients
- Fold gently, avoiding over-mixing that can deflate the batter
- Use room temperature ingredients to ensure a smooth, cohesive mix
Working with Yeast for Bread Dough
Yeast is the rising star of bread-making, literally. To ensure your bread rises perfectly every time, you must create the ideal environment for yeast to thrive:
- Verify the expiration date of your yeast; fresh yeast is active yeast
- Opt for lukewarm water (about 110°F) to dissolve the yeast—a temperature too high will kill it, too low won’t activate it
- Proof your yeast, which involves combining it with water and a pinch of sugar and waiting for it to bubble and foam
- Use a kneading technique that encourages gluten formation for a strong, elastic dough structure
- Use the Right Measuring Tools for the ingredient type—dry measures for flour and granulated sugar, liquid measures for milk or oil
- Fluff and Spoon Dry Ingredients into the measuring cup and level with a straight edge for accuracy
- Avoid tapping or shaking the measuring cup, which can cause the dry ingredients to settle and become compacted By adhering to these guidelines, you’re well on your way to mastering the art of dough and batter, pivotal in your journey to baking prowess. Keep practicing, and you’ll notice the quality of your baked goods improving with each attempt.
Perfecting Baking Temperatures and Times

Understanding Oven Temperatures
To ensure your baked goods turn out perfectly, knowing your oven’s quirks is critical. Most ovens have hot spots or areas that heat unevenly. Use an oven thermometer to monitor the actual temperature inside your oven rather than relying on the dial. Remember, the right temperature affects texture, rise, and coloration of your baked goods.
Preheating is non-negotiable. You want to place your dough or batter into an oven that’s reached the correct temperature. The ideal temperature for most cakes, cookies, and pastries ranges between 325°F (163°C) and 375°F (191°C). For bread and pizza, a hotter oven, around 425°F (218°C) to 475°F (246°C), is often recommended.
Also, the position of the oven rack can influence the baking process. Middle racks are generally best for even cooking. But, for a crispier bottom, as with pizza or pie crusts, moving the rack to the lower third of the oven can be beneficial. ### Adjusting Baking Times for Different Recipes
Baking times can vary based on oven temperature, pan color, and even size. Dark pans tend to cook faster than light-colored pans as they absorb more heat. If you’re using a dark pan and the recipe doesn’t specify, reduce the oven temperature by 25°F (4°C) to prevent overbrowning.
Sizing matters too. If you’re baking in a pan that’s either larger or smaller than what your recipe calls for, you’ll need to adjust the time. A larger pan may mean a thinner batter, which cooks quicker, while a smaller pan will likely require more time since the batter will be thicker.
Pay attention to the doneness indicators provided in your recipe like “golden brown” or “clean toothpick.” But, these should be guidelines alongside your judgment. Start checking for doneness a few minutes before the recipe’s stated minimum time, especially if you’re experimenting or adjusting a recipe for the first time.
Remember, oven thermometers, preheating, rack positioning, pan color, and size are key components to baking precision. Knowing how to adjust for these variables will have a significant impact on the quality of your baked creations.
Troubleshooting Common Baking Problems
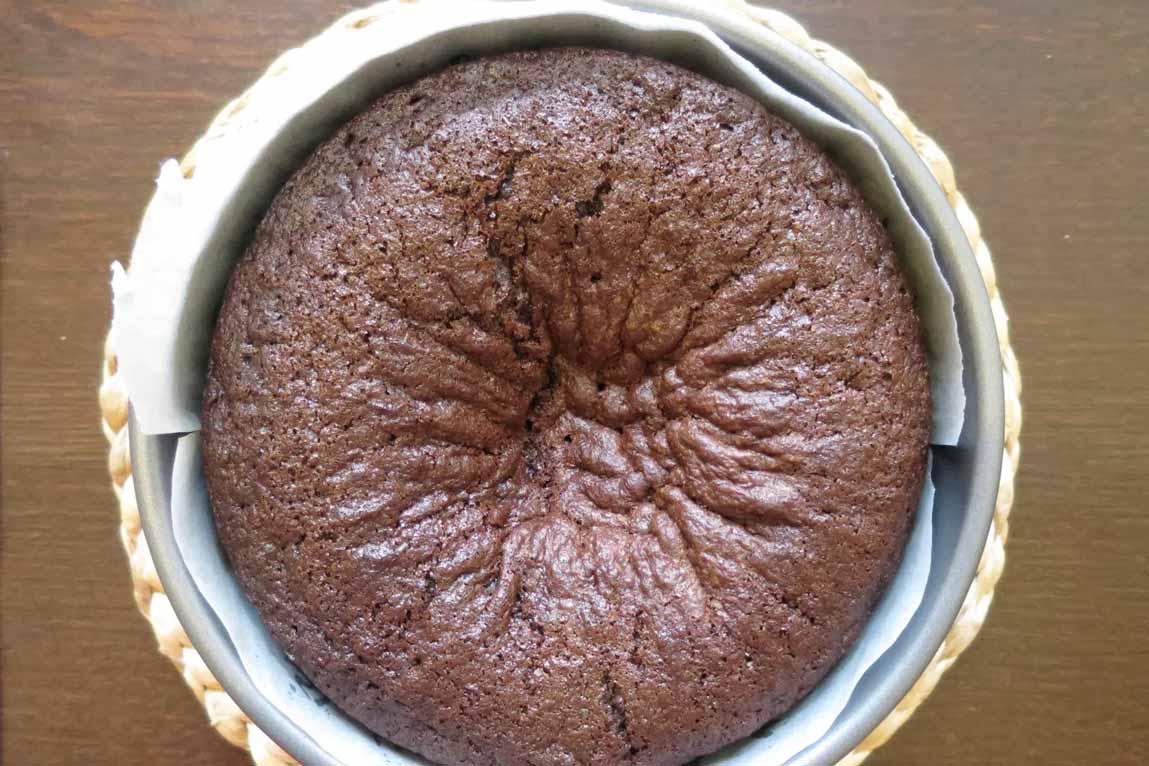
Why Cakes Sink in the Center
When you pull a cake out of the oven, only to watch its center collapse, there’s usually a clear culprit. Incorrect oven temperature can lead to uneven baking, where the edges set before the middle does, causing the middle to fall. Also, opening the oven door frequently lets out heat and can lead to a sinkhole in your cake.
Another common issue is over-mixing the batter, which incorporates too much air. This air expands in the oven and then collapses when cooling. Similarly, using expired leavening agents like baking powder can fail to give the proper rise. It’s critical to always ensure leavening agents are fresh and effective.
Sometimes, it’s simply that too much batter was poured into the pan. Overfilling can cause the batter to rise rapidly and then sink, as the internal structure hasn’t set enough to support it.
In sum, here’s what you need to do to prevent your cakes from sinking:
- Preheat your oven to the right temperature and use an oven thermometer.
- Resist opening the oven door while baking.
- Measure your ingredients accurately and avoid over-mixing the batter.
- Check the expiration date on your leavening agents and replace them regularly.
- Follow recipe guidelines for the correct amount of batter in each pan.
How to Prevent Cookies from Spreading Too Much
If you’ve ever ended up with flat, spread-out cookies, it could be for several reasons. The first step in preventing this is to chill your dough. Chilled dough takes longer to melt in the oven, which helps maintain the cookie’s shape during the initial baking stage.
Room temperature butter is another key factor. Butter that’s too warm can cause cookies to spread quickly before they set. Make sure your butter is soft yet still cool to the touch.
Incorrectly measuring flour leads to a lack of structure, meaning cookies spread more. Fluff and spoon the flour into your measuring cup instead of scooping directly from the bag to ensure you’re not using too much.
Using parchment paper or a silicone baking mat can help too. These provide a non-stick surface without extra grease, which can contribute to spreading.
Finally, consider your baking sheet. Dark baking sheets absorb more heat and can cause cookies to spread more than light-colored sheets.
Here’s your checklist to keep cookies from spreading:
- Chill the dough for at least 30 minutes before baking.
- Use butter that is cool to the touch.
- Properly measure your flour for structure.
- Bake on parchment paper or a silicone mat rather than a greased baking sheet.
- Opt for light-colored baking sheets to reduce heat absorption.
By fine-tuning these aspects of your baking process, you can address and correct common issues that interfere with achieving perfect results. Stick to these tried-and-true methods, and you’ll have beautifully structured cakes and cookies that are sure to impress.
Final Thoughts on Mastering Baking Basics
Mastering the art of baking is within your reach. With the insights you’ve gained on troubleshooting classic baking blunders, you’re now equipped to bake cakes that rise to perfection and cookies that hold their shape. Remember the importance of attention to detail—temperature control, mixing techniques, and precise measurements are your allies in the kitchen.
Embrace these basics and you’ll be on your way to creating delectable baked goods that look as good as they taste. Keep practicing, stay curious, and let your baking journey be as sweet as the treats you make.