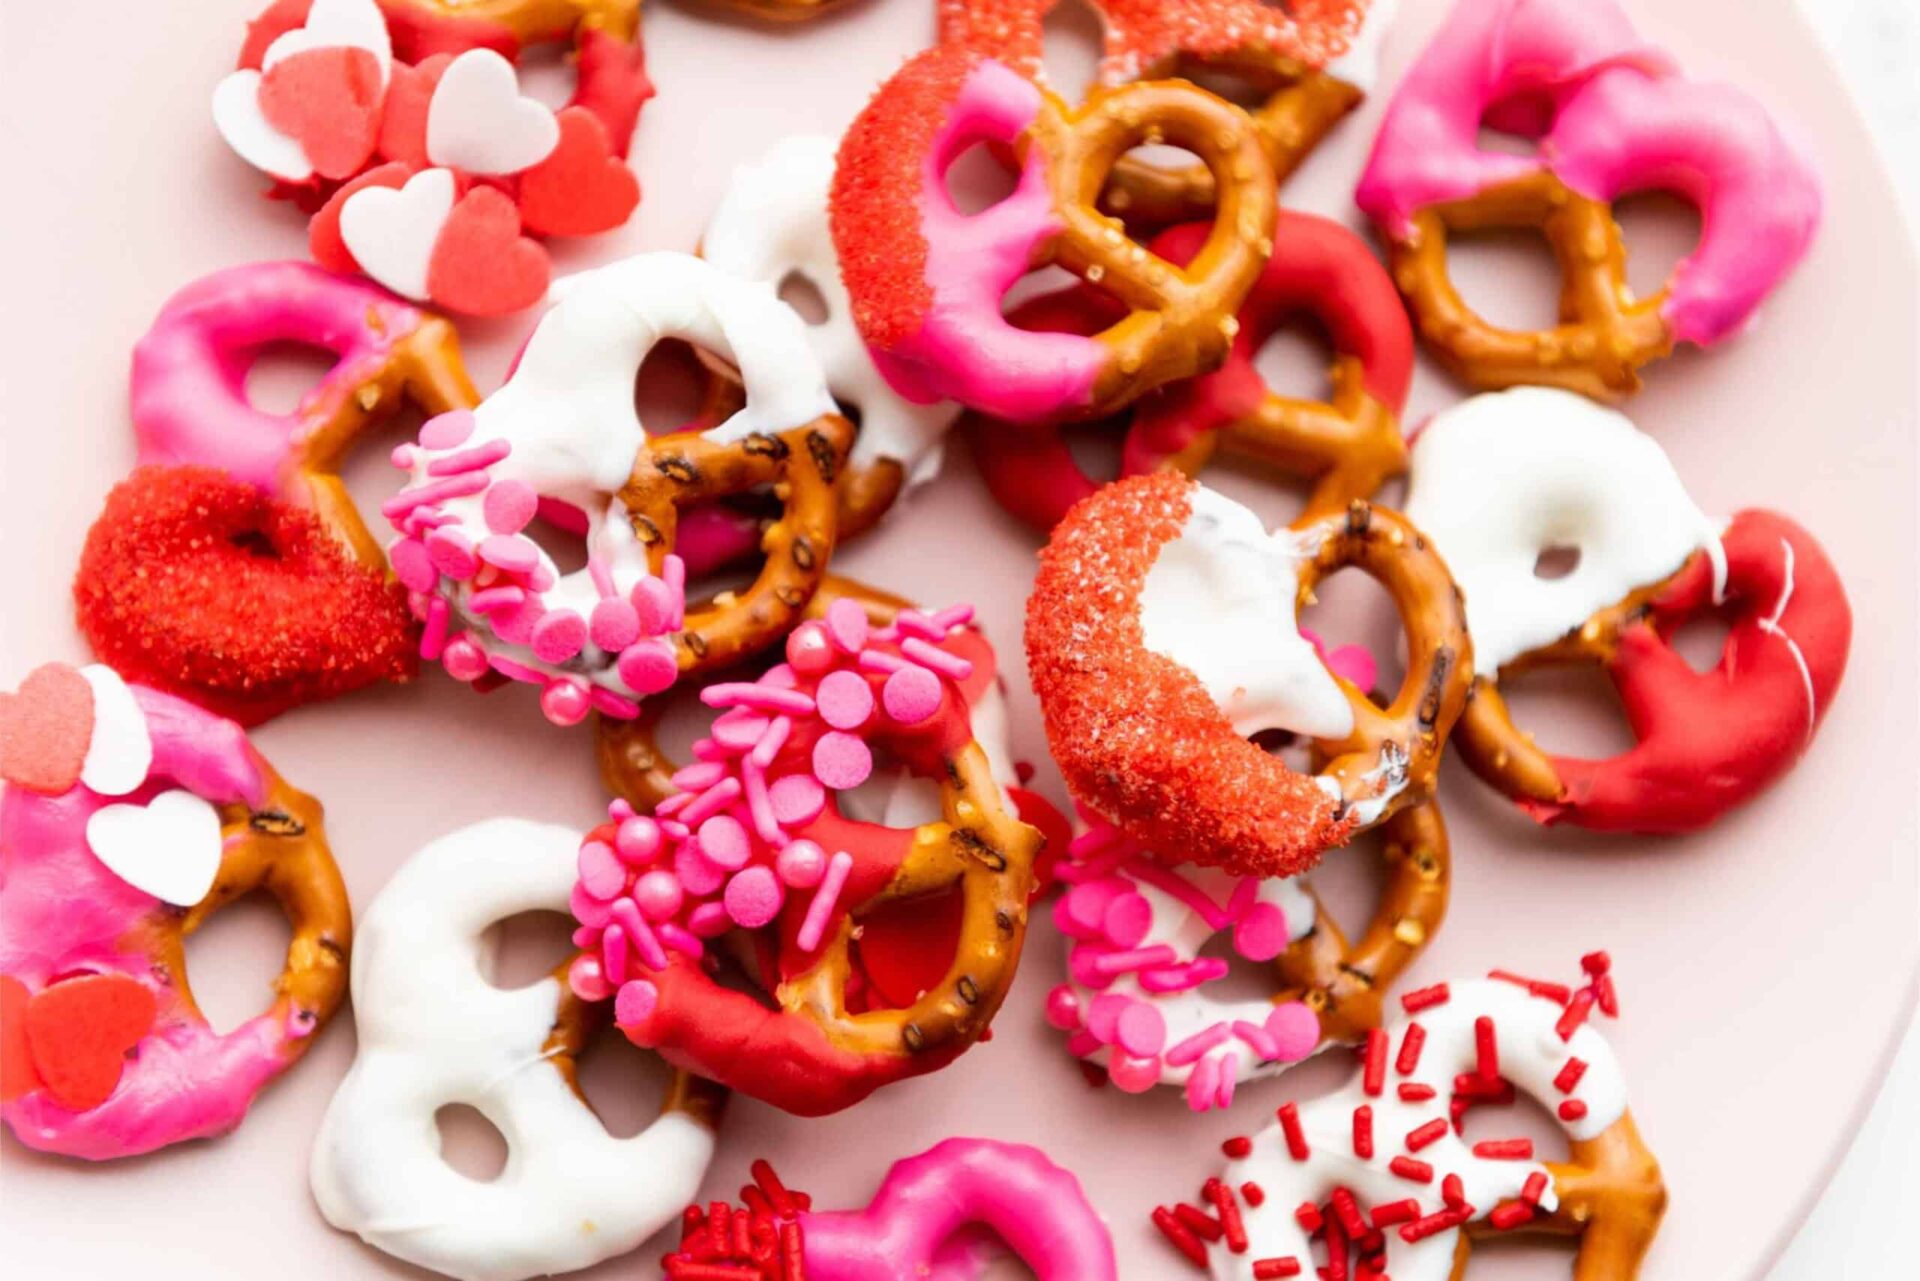
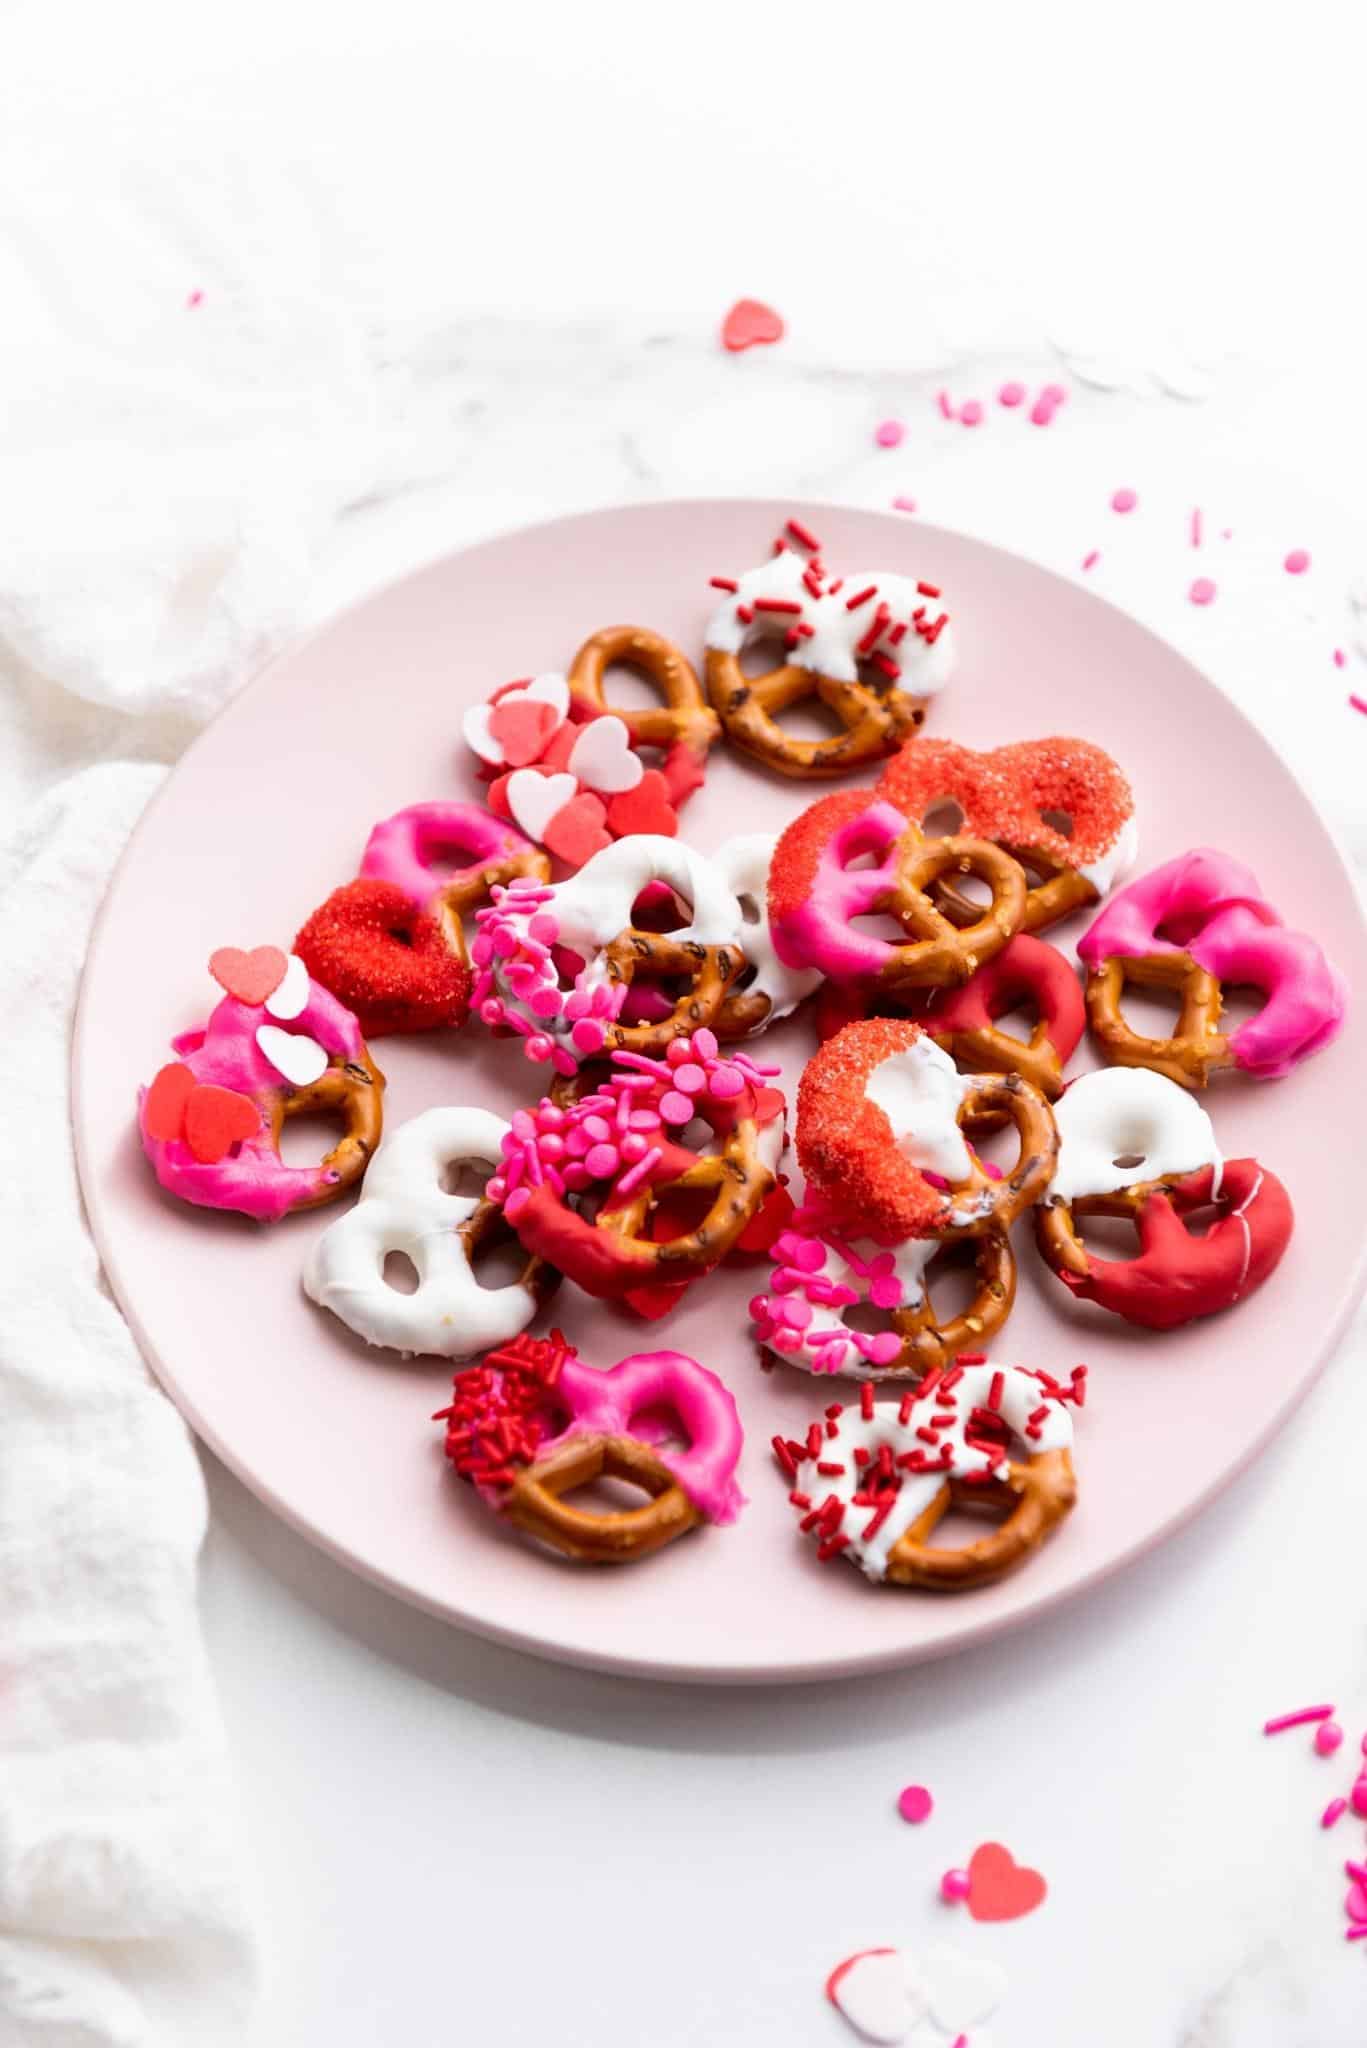
Let’s face it: Valentine’s Day is wonderful, but between school schedules, work, and just keeping the household running, we don’t always have time for a five-course pastry project. That is exactly why I am obsessed with these Valentine’s Day Chocolate Covered Pretzels.

They are the perfect marriage of salty and sweet (which, let’s be honest, is the best flavor combo there is). Best of all? You only need three ingredients and about 20 minutes to whip up a batch that looks like you bought them at a fancy boutique bakery. Whether you need a last-minute classroom treat, a cute gift for neighbors, or just a snack for family movie night, these colorful rods are a total win.
Why This Recipe Is a Lifesaver
-
Zero Baking Required: No oven, no flour clouds, no stress.
-
Kid-Friendly: This is the perfect “recipe” to let the little ones help with. They love the dipping and—of course—the sprinkling!
-
Totally Customizable: Pink and red for Valentine’s Day, but you can swap the colors for any holiday.
Ingredients
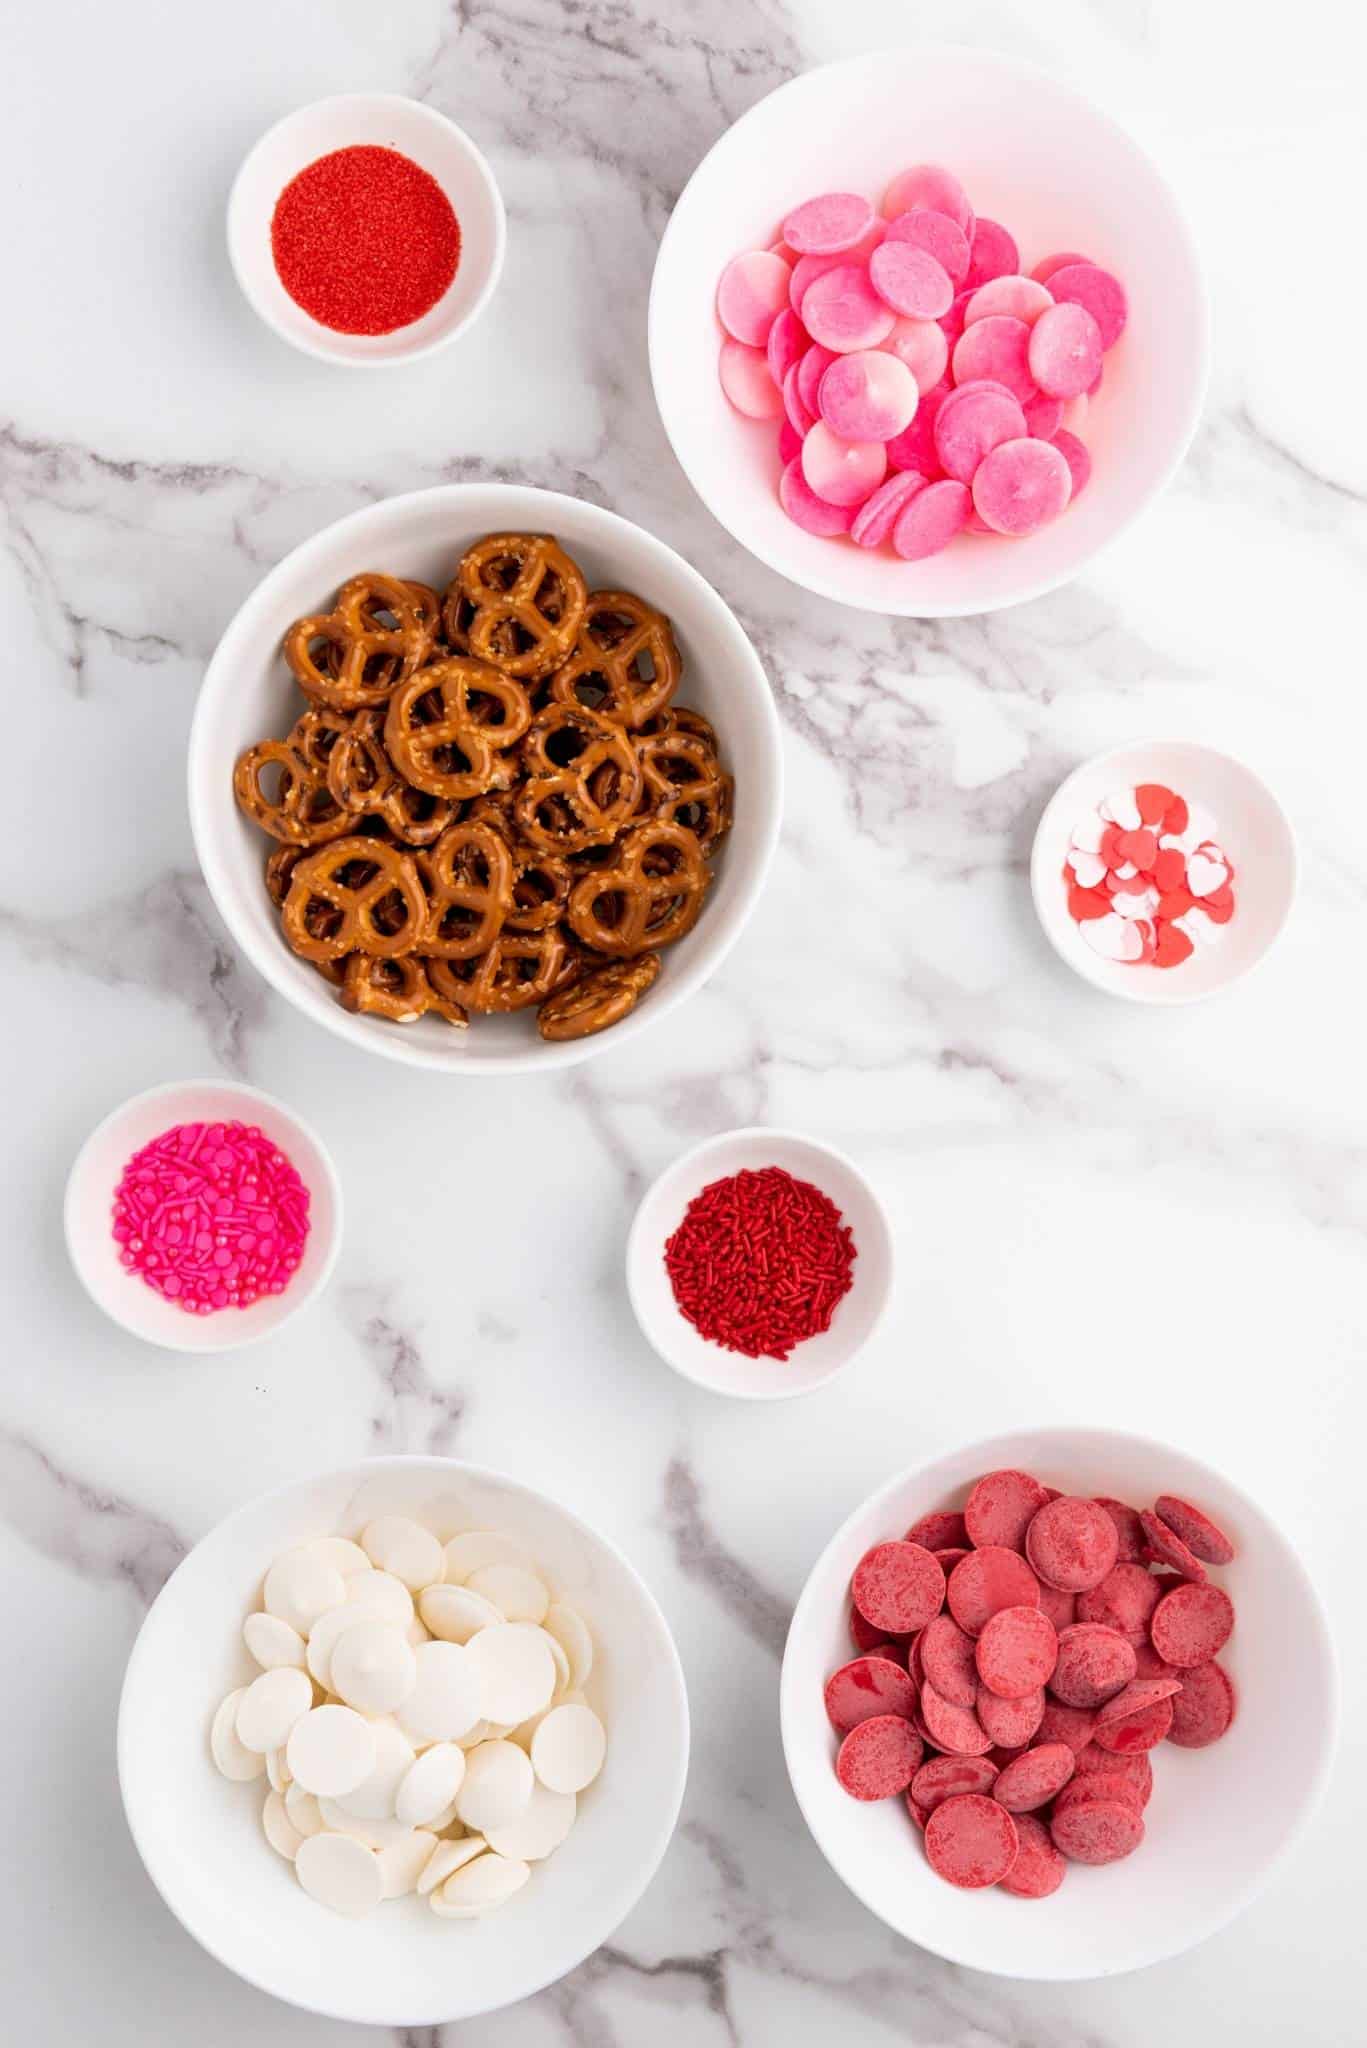
Here is the short and sweet shopping list:
-
Pretzels: 1 bag (12 oz). I prefer the rods because they are easier to dip and offer a great surface area for decorations, but twists work too!
-
Candy Melts: 3 oz each of Pink, Red, and White. These melt smoothly and give you those vibrant, festive colors without needing food coloring.
-
Sprinkles: Go wild here! Hearts, nonpareils, or sanding sugar all look adorable.
Step-by-Step Instructions
1. Melt the Magic Place your candy melts in microwave-safe bowls (keep the colors separate!). Zap them in the microwave in 20-second bursts. Stir well after each interval. Patience is key here—if you overheat them, the candy can seize up. You want a smooth, silky consistency.
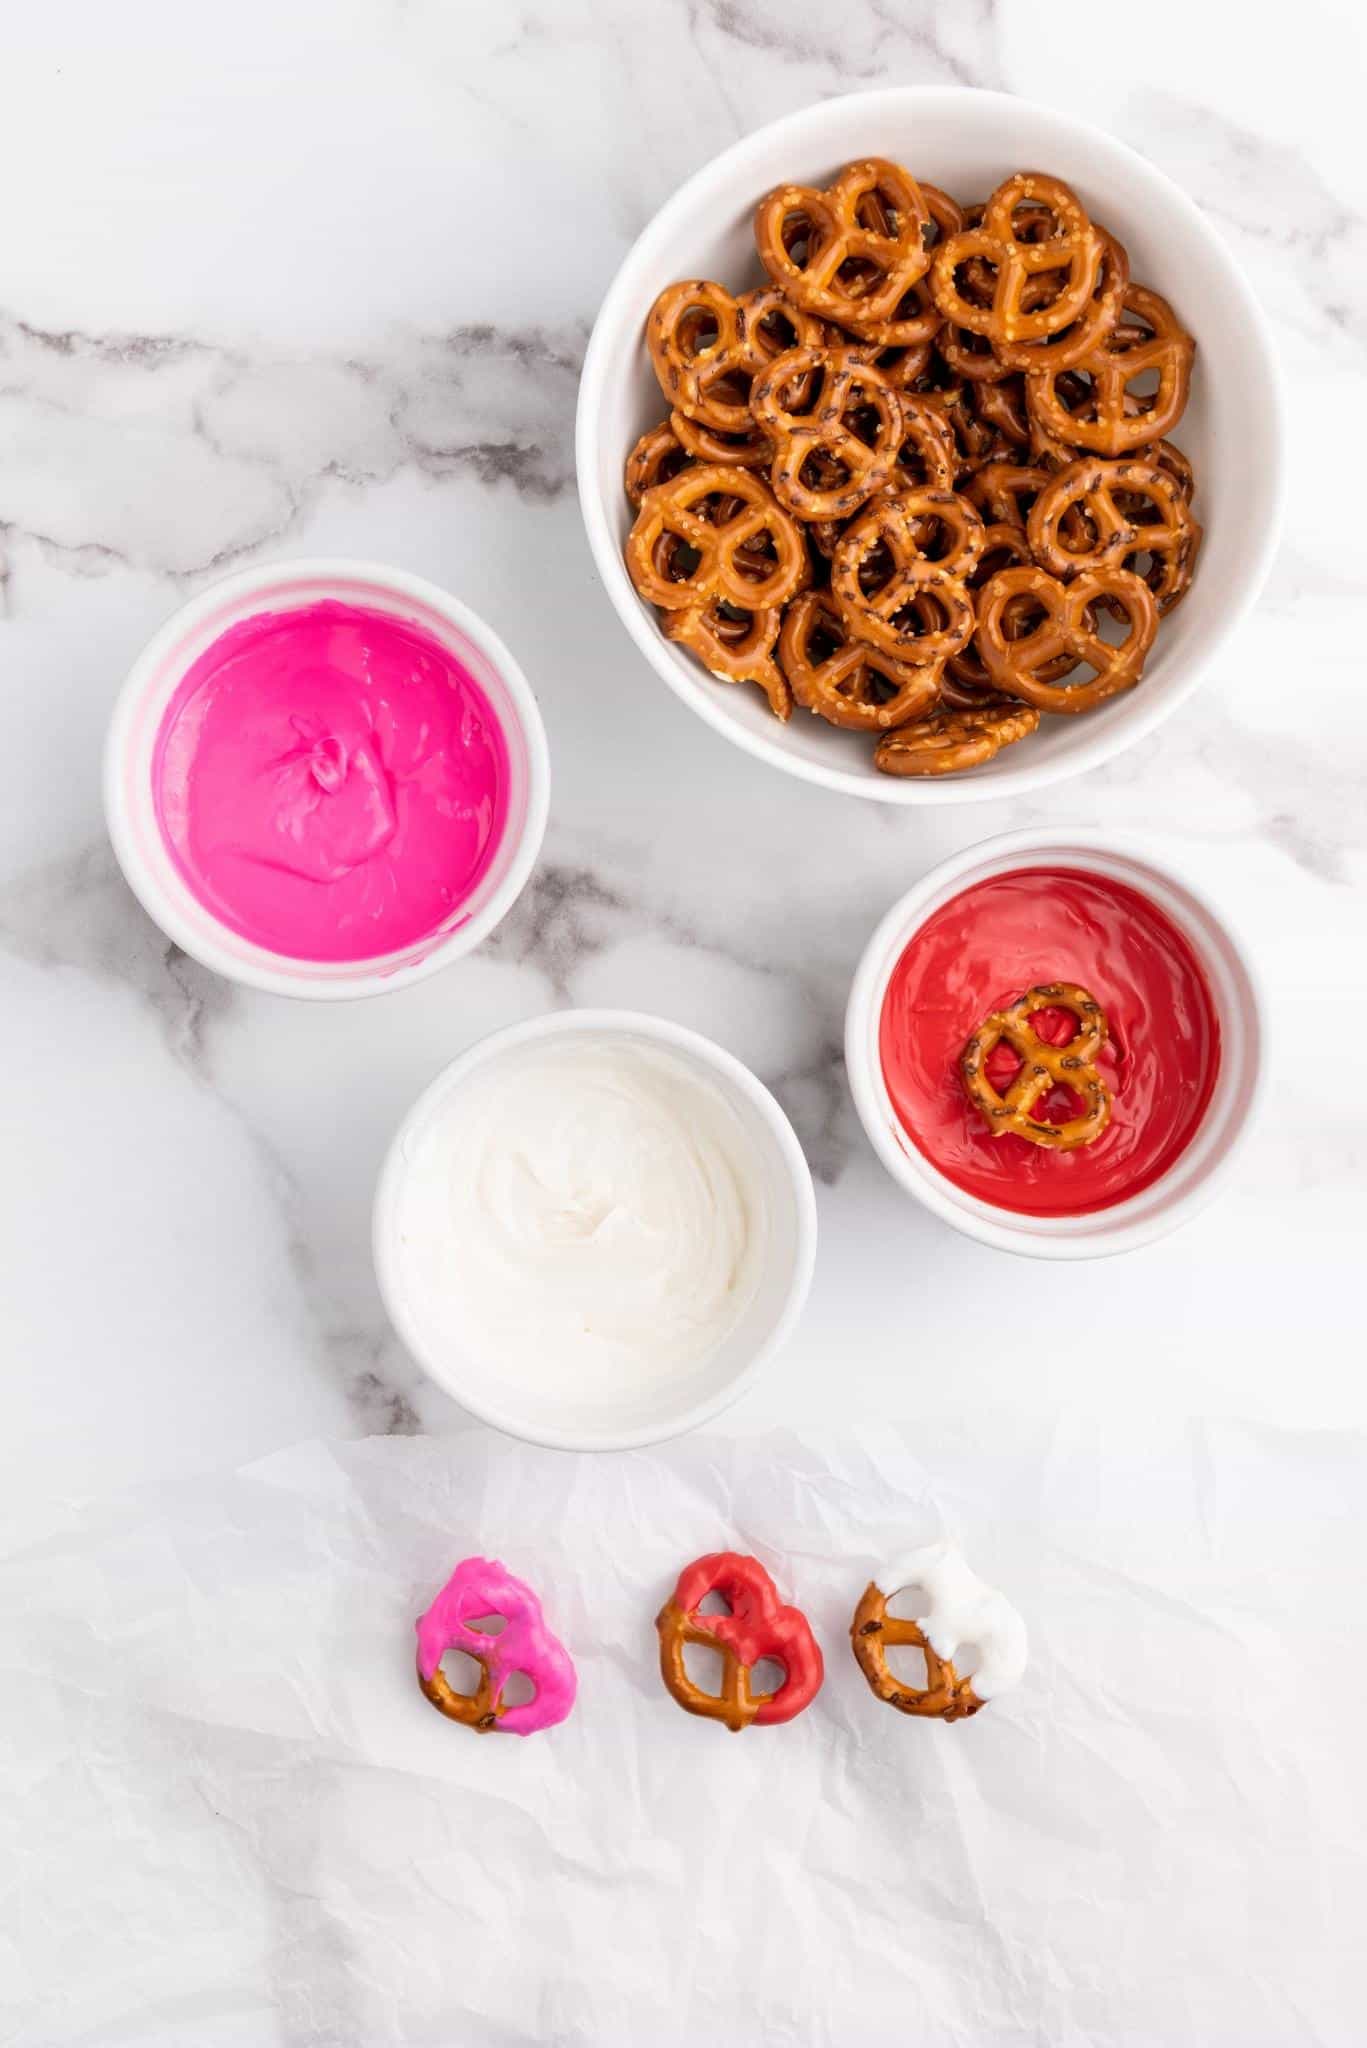
2. Dip & Twirl Dip a pretzel rod into your melted candy. I like to cover about half to two-thirds of the pretzel so you still have a “handle” to hold.
-
Mom Hack: If the dipping gets messy, transfer your melted chocolate into a tall glass. It makes dunking the long rods so much easier!
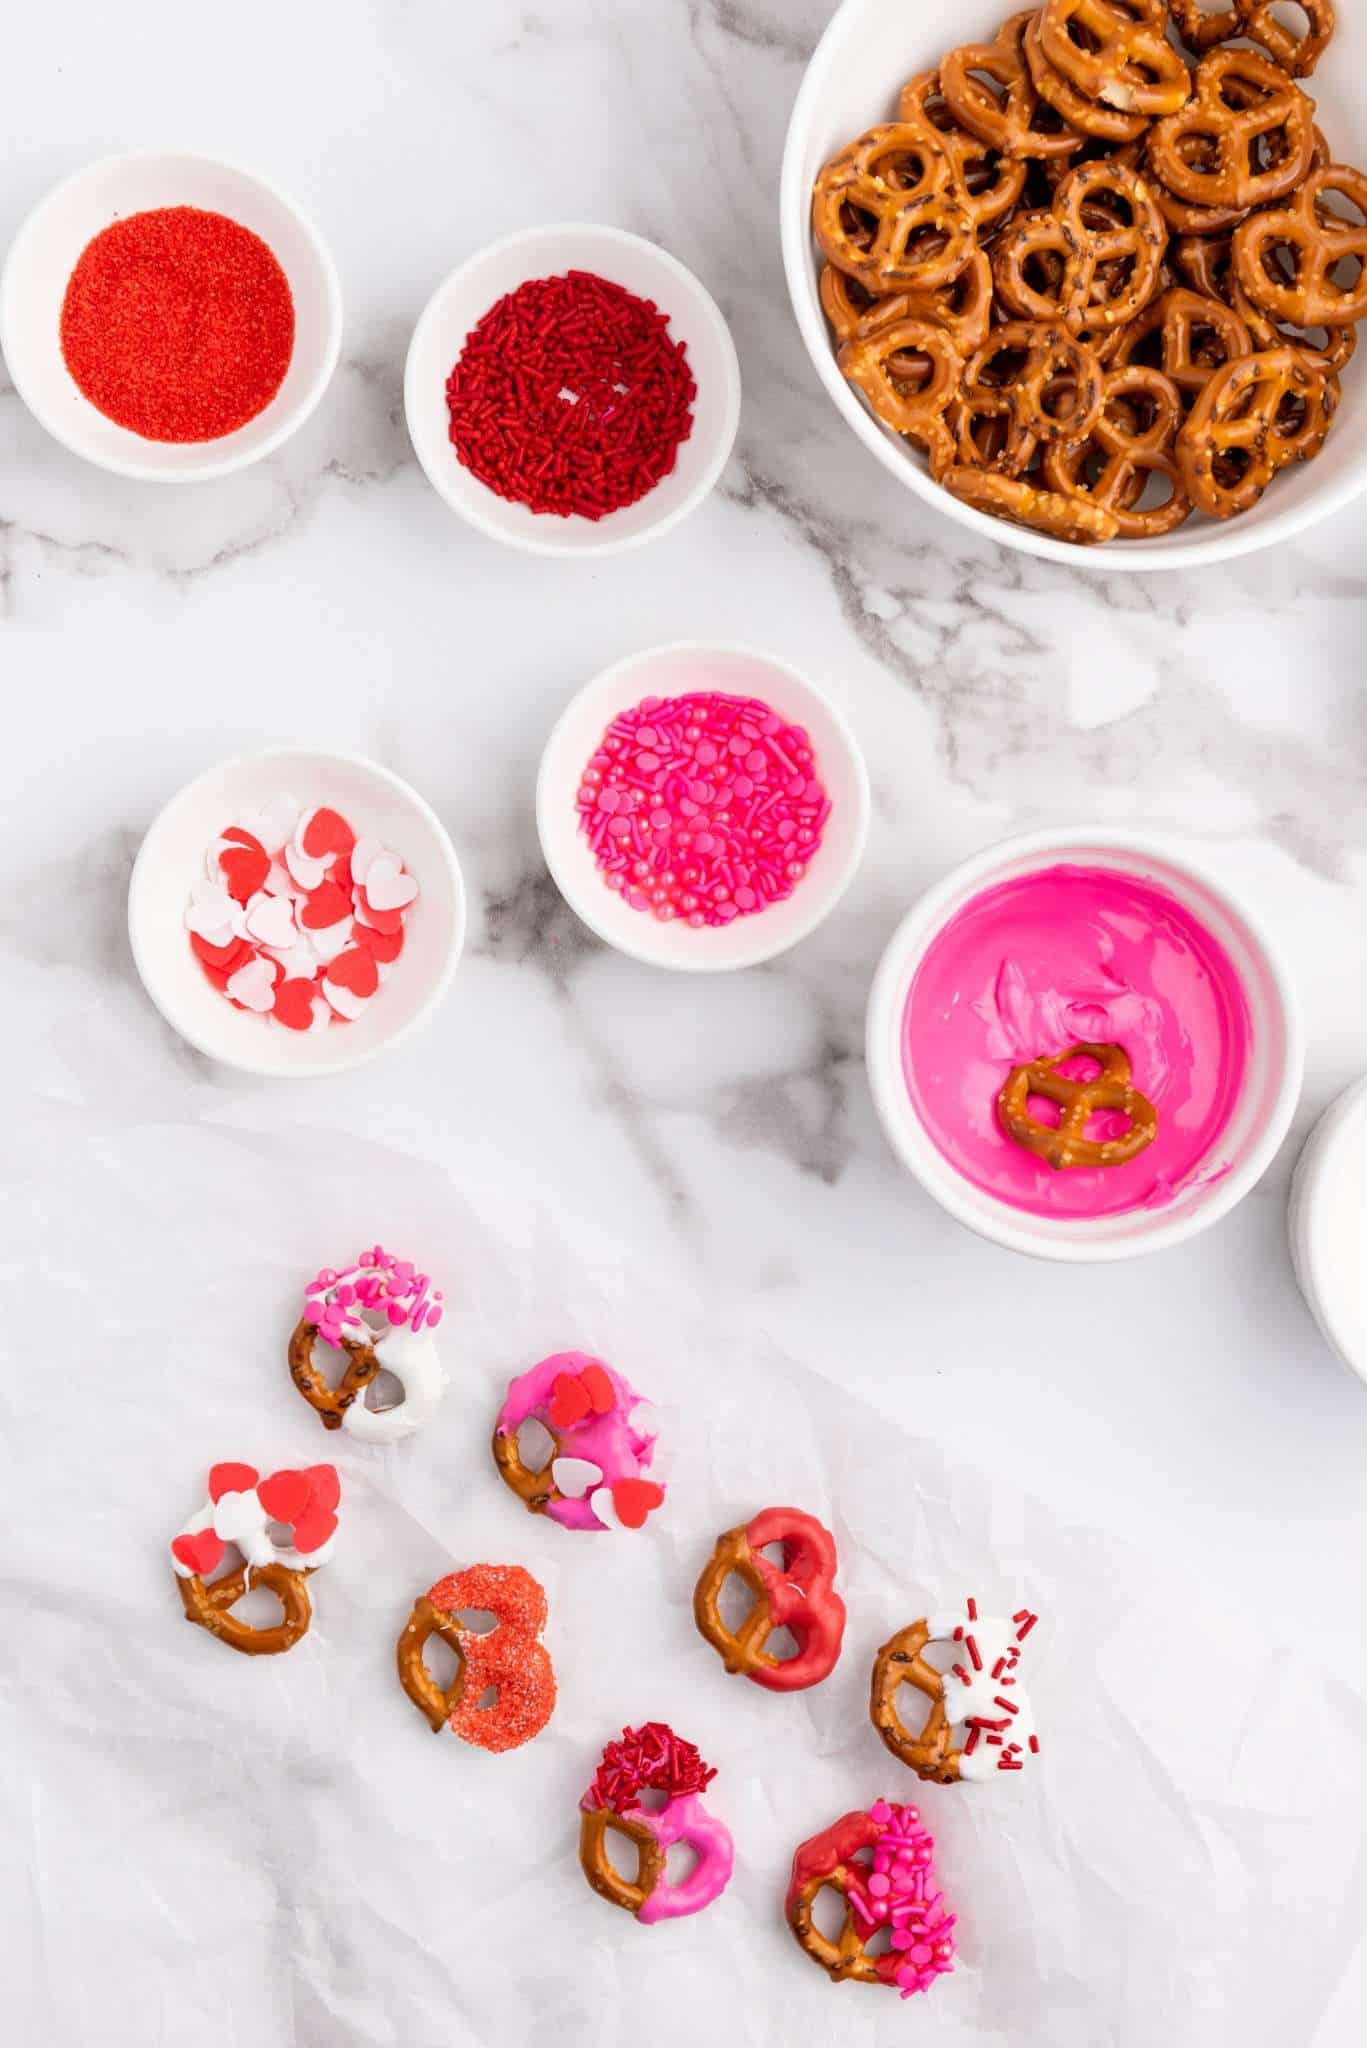
3. Decorate (Quickly!) This is the fun part! While the chocolate is still wet, shake your sprinkles over the coated section. Do this over a plate or baking sheet to catch the strays. You have to move fast because candy melts harden quicker than regular chocolate.
4. Chill Out Lay your masterpieces on a baking sheet lined with parchment paper. Pop the tray in the fridge for about 30 minutes. This sets the coating so it has that professional “snap” when you bite into it.
5. Serve or Gift Once they are set, they are ready to eat! If you are gifting them, they look adorable wrapped in clear cellophane bags tied with a pink ribbon.
Tips for Success
-
The Fork Trick: If you are using pretzel twists instead of rods, use a fork to dip them. Tap the fork on the edge of the bowl to let the excess chocolate drip off before placing them on the paper.
-
Storage: Keep these in an airtight container at room temperature. They will stay fresh and crunchy for up to a week. Avoid the fridge for long-term storage, as the moisture can make the pretzels soft.
-
Flavor Twist: Want to mix it up? Swap the candy melts for high-quality dark or milk chocolate chips for a richer flavor, then drizzle with white chocolate for contrast.
Yield: 12 Servings Prep Time: 20 Minutes | Total Time: 50 Minutes
Happy dipping! These little wands of salty-sweet goodness are sure to be a hit with your valentines, big and small.

Valentine's Day Chocolate Covered Pretzels
Ingredients
- 12 oz bag of Pretzels
- 3 oz pink candy melts
- 3 oz red candy melts
- 3 oz white candy melts
- Sprinkles of your choice
Instructions
- Melt the Candy Melts: Microwave the candy melts in 20-second bursts, stirring between each burst. Remove from the microwave once fully melted.
- Dip and Decorate: Dip each pretzel into the melted candy and then decorate with your chosen sprinkles.
- Chill and Set: Place the dipped pretzels in the refrigerator for 30 minutes, or until the candy has hardened.