
To bake a crisp apple galette on a standard sheet pan, control moisture before the pastry goes into the oven. Use a rimless or low-rimmed pan if available, line it with parchment, keep the apple layer shallow, and leave a broad border of exposed dough for folding. A brief pre-cook helps apples shed excess juice and begin to soften, so they need less time sitting on the crust. Bake on a preheated lower oven rack until the underside is deeply golden, then cool the galette on a rack so steam does not soften the base.
In this article
Build Flavor Without Excess Moisture
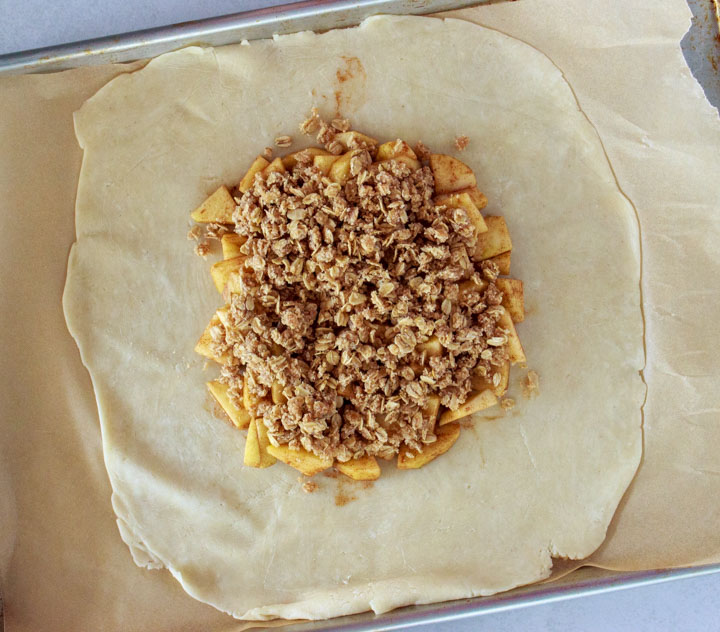
Image credit: fedbythefarm.com
A crisp-bottom galette begins with a filling that is flavorful but not wet. Apples release liquid as they heat, and a deep pile of raw fruit can leave the center pastry soft before the edge has had time to brown.
Slice the apples evenly, then briefly cook them in a wide skillet with your chosen seasoning until they are just starting to bend. Let the mixture cool and drain off any obvious pooling liquid before arranging it on the dough. This step concentrates the fruit flavor while limiting the steam that reaches the crust.
If using a crisp or crumb topping, scatter it lightly over the apples rather than packing it on. The pastry still needs room to vent and brown around the filling.
Source: Apple Galette with Sweet Crisp Topping – Fed by the Farm
Give the Dough a Dry Base
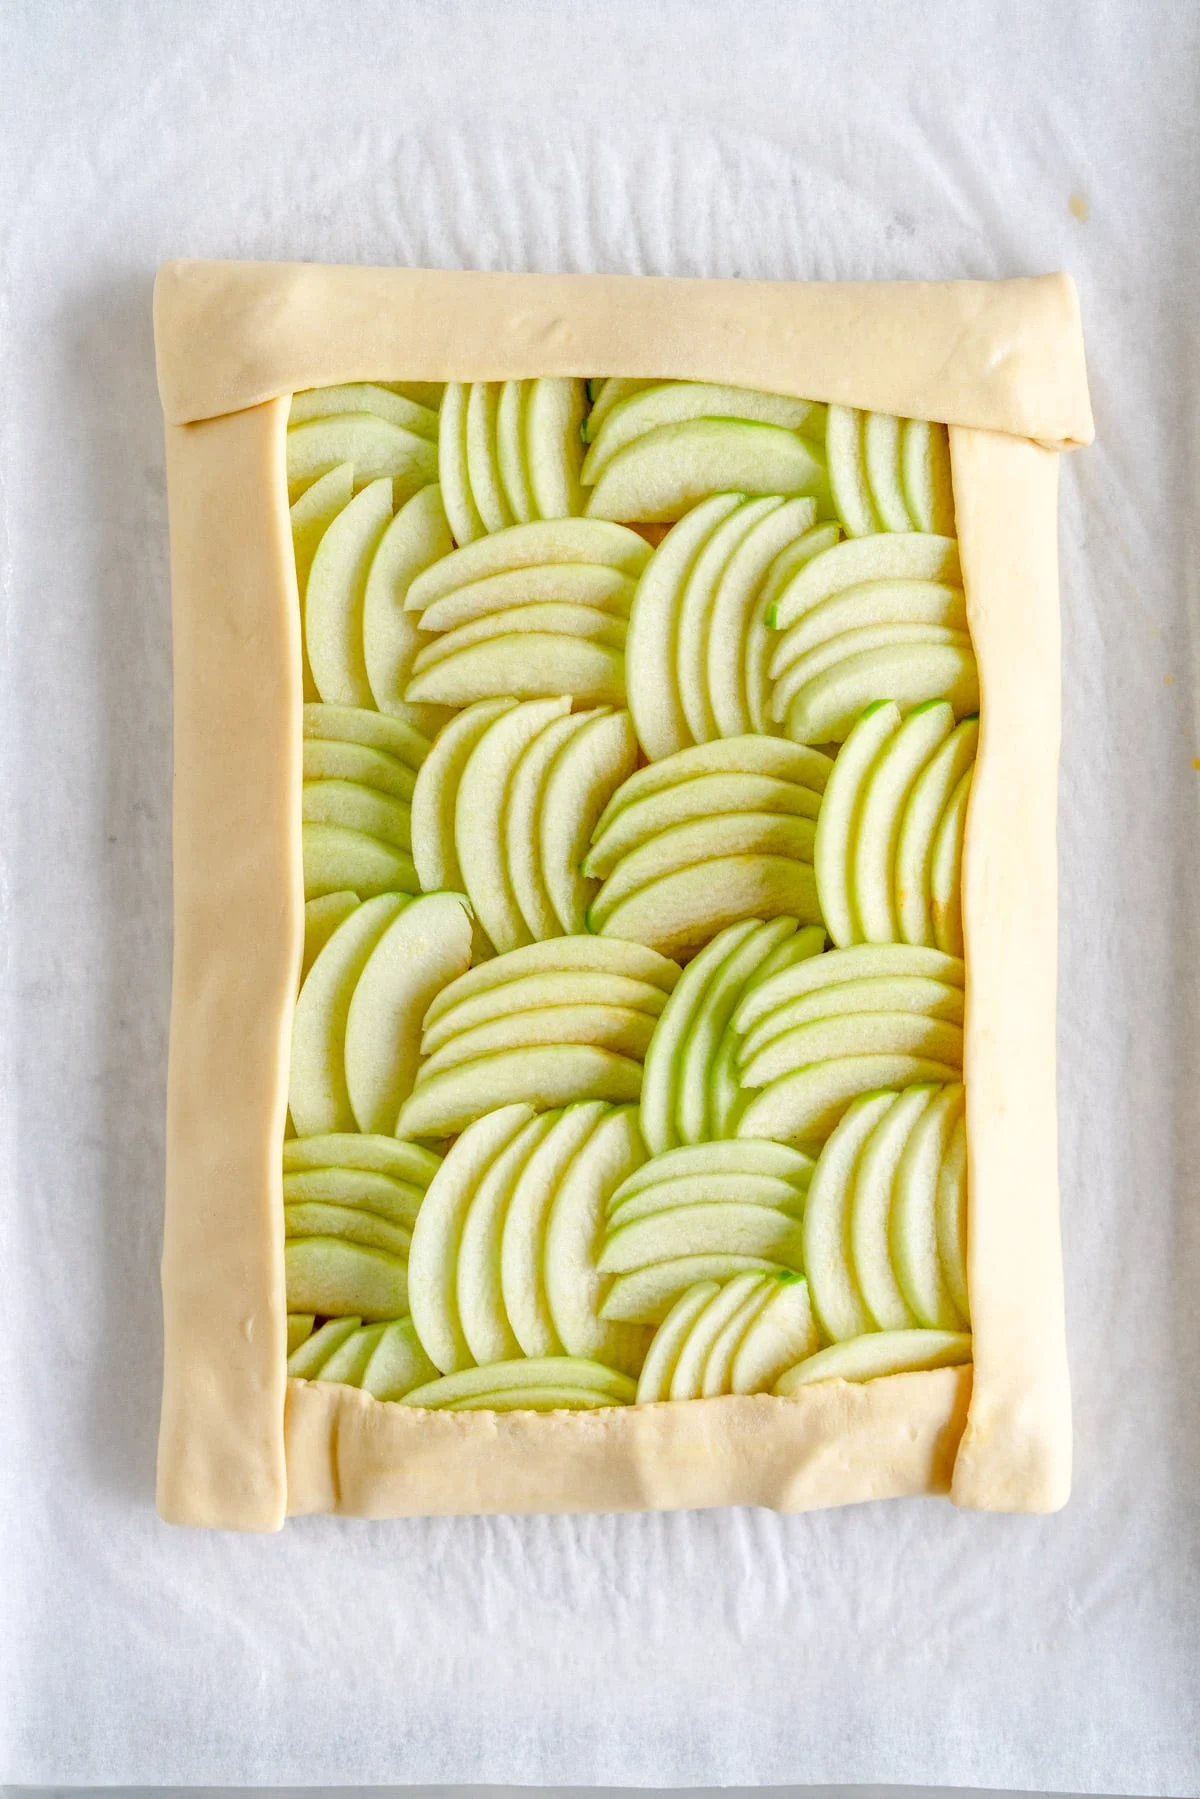
Image credit: cloudykitchen.com
Roll chilled galette dough directly on parchment cut to fit a standard sheet pan. The parchment makes the transfer simple and prevents the butter-rich pastry from sticking as it bakes.
Before adding fruit, create a moisture barrier in the center. A thin layer of ground nuts, a little flour mixed with sugar, or a modest spread of a suitable filling can absorb juices without weighing down the crust. Keep this layer inside the area that will be covered by apples.
Arrange apples in a low, even layer rather than forming a tall mound. A flatter filling cooks more predictably and lets heat reach the dough beneath it.
Source: Apple Galette – Cloudy Kitchen
Fold a Border That Holds
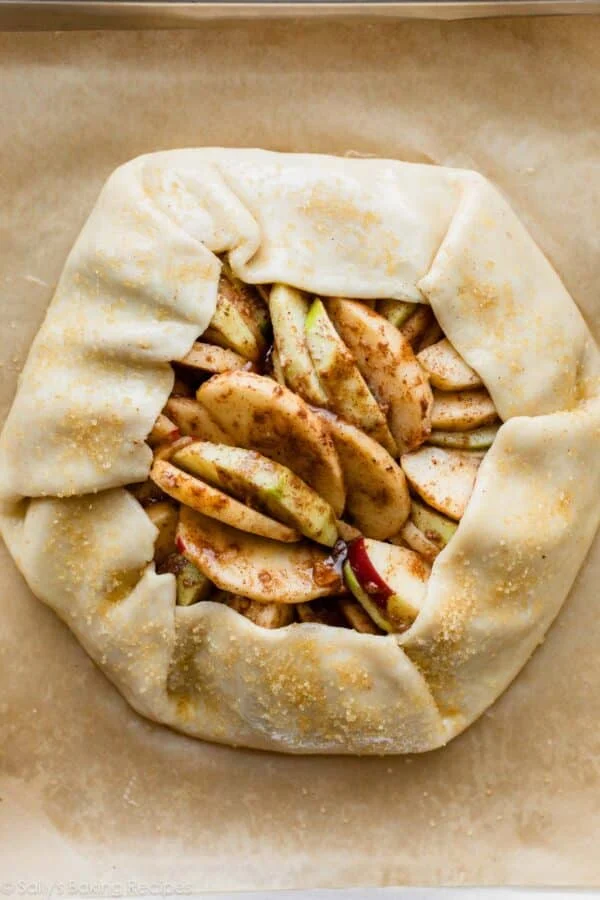
Image credit: sallysbakingaddiction.com
Leave a clear 2- to 3-inch border of dough around the filling. Working around the circle, lift and fold the edge inward in overlapping pleats; the folds need only be snug enough to contain the apples, not perfectly uniform.
Avoid pulling the dough tight over the fruit. A relaxed rim gives the filling space to bubble and creates small openings for steam to escape. If the dough has become soft or greasy while shaping, refrigerate the assembled galette until it feels firm again.
Brush only the exposed pastry with egg wash or cream, then add coarse sugar if desired. Keeping the wash off the parchment helps prevent sugary drips from burning beneath the crust.
Source: Easy Apple Galette Recipe – Sally’s Baking
Use Sheet-Pan Heat Wisely
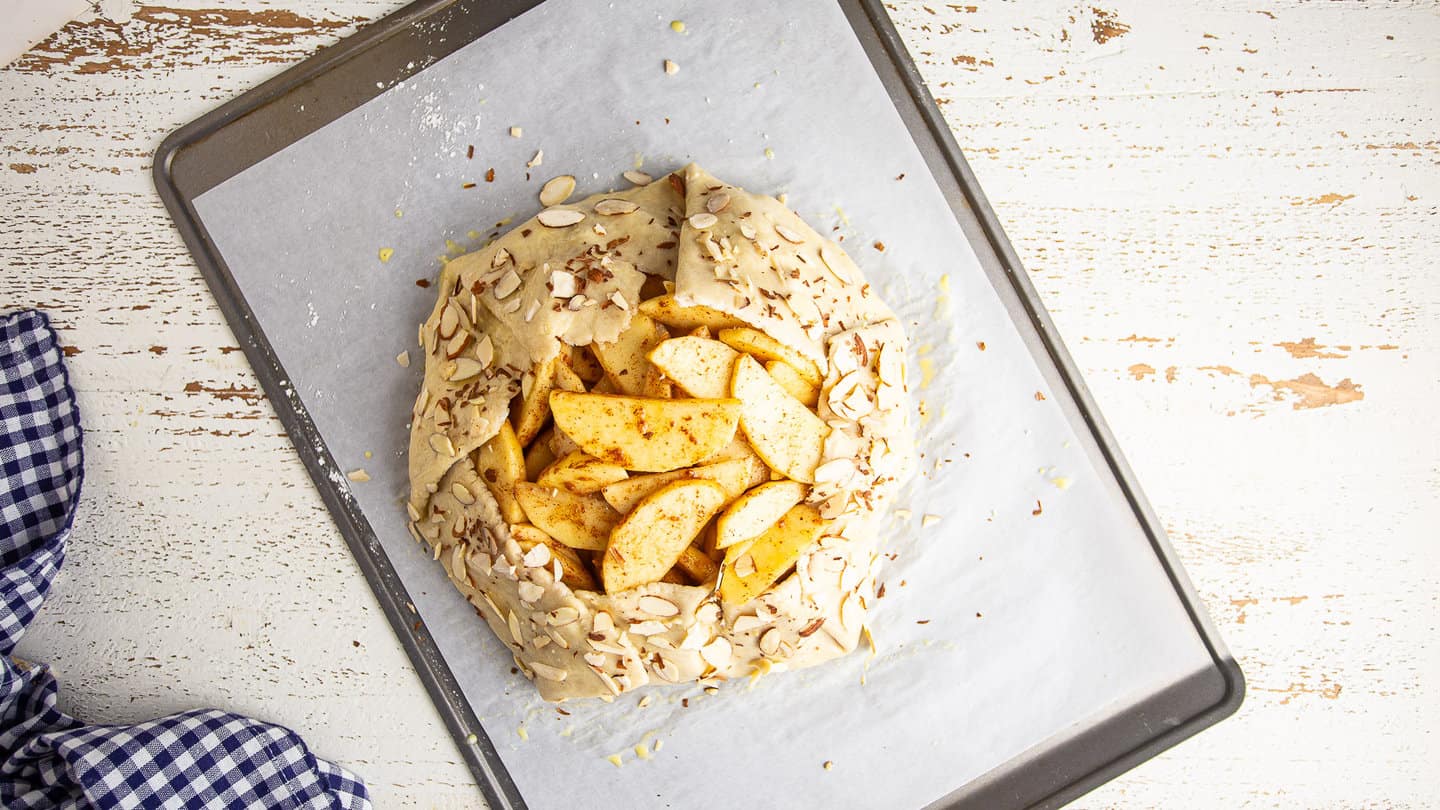
Image credit: bakingamoment.com
Place an empty standard sheet pan in the oven while it preheats. Once hot, carefully slide the parchment and assembled galette onto the heated pan. The direct contact gives the bottom pastry an early burst of heat and encourages browning.
Set the pan on a lower-middle rack, where the base is closer to the oven’s heat source without risking a scorched bottom. Bake until the crust is a rich golden brown, not merely pale gold; color is the best practical signal that the pastry has dried and crisped.
If the top browns too quickly before the base is ready, loosely shield the rim with foil and continue baking. Do not cover the whole galette, since trapped steam works against a crisp crust.
Source: Apple Galette Recipe: So easy! -Baking a Moment
Cool It Without Trapping Steam
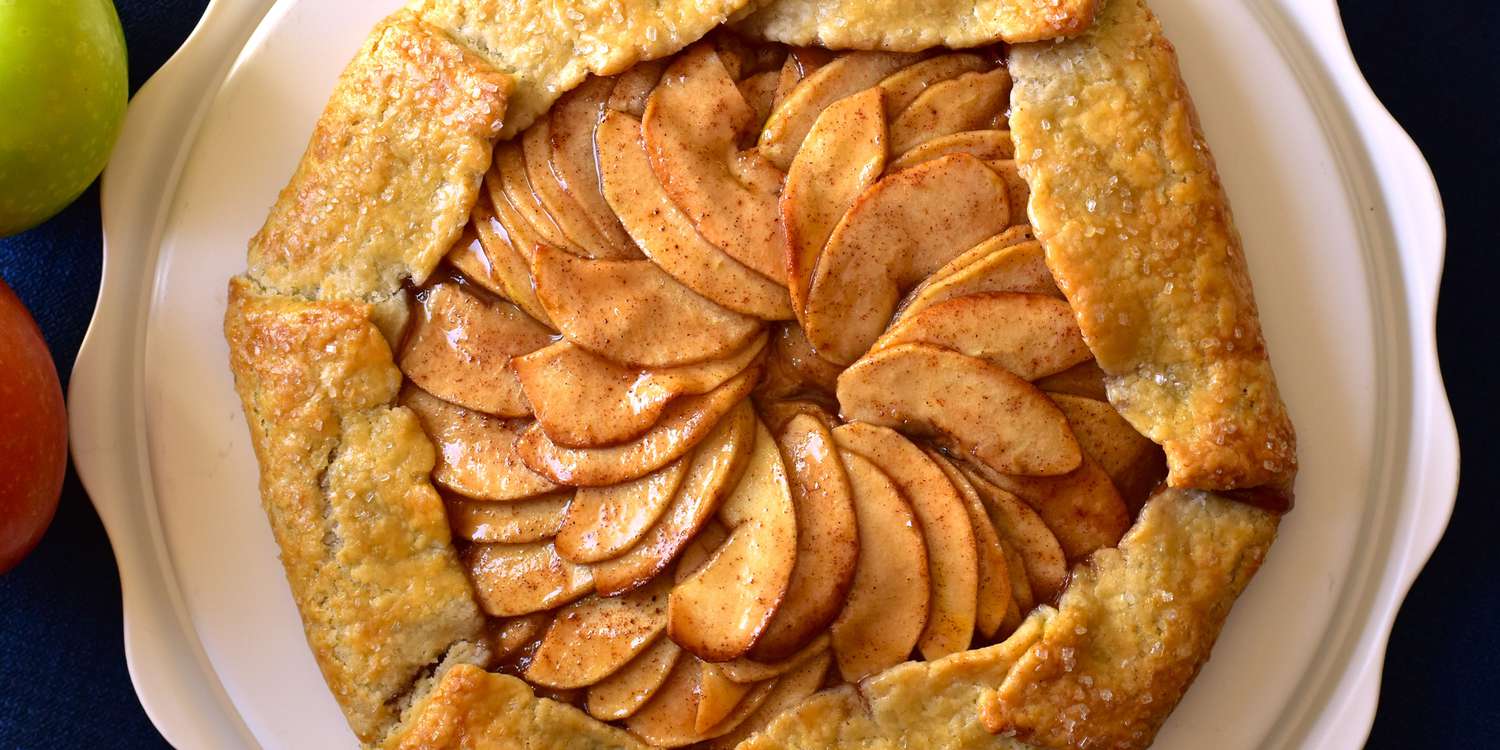
Image credit: allrecipes.com
Let the finished galette rest on the pan just long enough for the bubbling juices to settle, then move the parchment-supported pastry to a wire rack. Airflow beneath the paper prevents residual heat and steam from turning the base soft.
For the cleanest slices, wait until the filling is warm rather than piping hot. A serrated knife used with a gentle sawing motion protects the flaky edge and helps keep the apple layer in place.
Serve soon after cooling for the best contrast between tender fruit and crisp pastry. If leftovers need reheating, use the oven or a toaster oven rather than the microwave to restore the crust’s texture.
Source: Apple Galette
⚠️ Source unavailable — description based on the image only.
Before baking, check three things: the apples are not sitting in liquid, the dough is cold, and the sheet pan is fully heated. Those small decisions do more for a crisp bottom than adding extra flour after the fact.
Make one galette as a trial with your usual dough, then note the browning time in your oven. That timing becomes a reliable template for future apple galettes and other juicy fruit fillings.
FAQ
Why is my apple galette bottom soggy?
The usual cause is excess liquid from the apples or insufficient bottom heat. Pre-cook and cool the apples, keep the filling shallow, and bake the galette on a preheated sheet pan on a lower-middle rack.
Do I need a special pan for a galette?
No. A standard sheet pan lined with parchment works well. Preheating the pan before transferring the galette can help the bottom crust brown more thoroughly.
Can I assemble an apple galette ahead of time?
You can prepare the dough and apple filling ahead, but keep them separate until close to baking. Once fruit sits on raw pastry, its juices can begin to soften the dough.